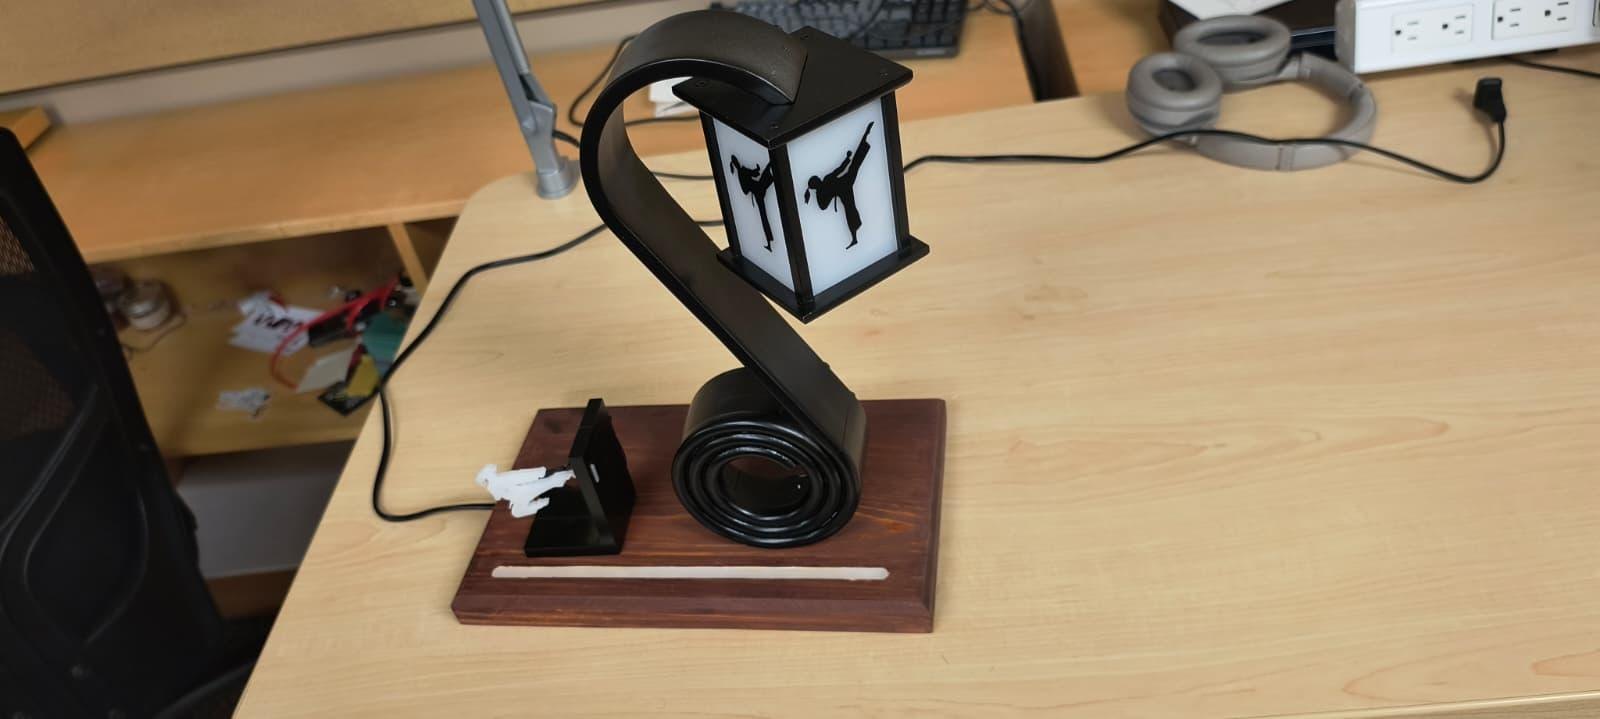
Beacon - taekwondo lamp and bookend
A desk lamp and bookend designed for visual appeal, representing a black belt, and made with five different manufacturing processes

the problem
I needed a unqiue gift for someone that they could use daily. I settled on a belt-themed lamp and bookend to combine their interests in reading and taekwondo. The design needed to be visually appealing, represent a black belt, and be manufacturable with the tools I had available.
what I did
Sketched 30 ideas and settled on the book-themed lamp. Decided to use a waterjet for the key belt profiles, sand-casting for the complex coil shape, and a mill for the lantern and mounting points. The lantern was laser cut out of acrylic and the base was routed from wood.
what happened
This lamp has been in use ever since, with extreme amounts of visual appeal and a unique design. I learned a lot about the manufacturing processes I used, and about the importance of finishing techniques like powder coating and electronic assembly.
what I learned
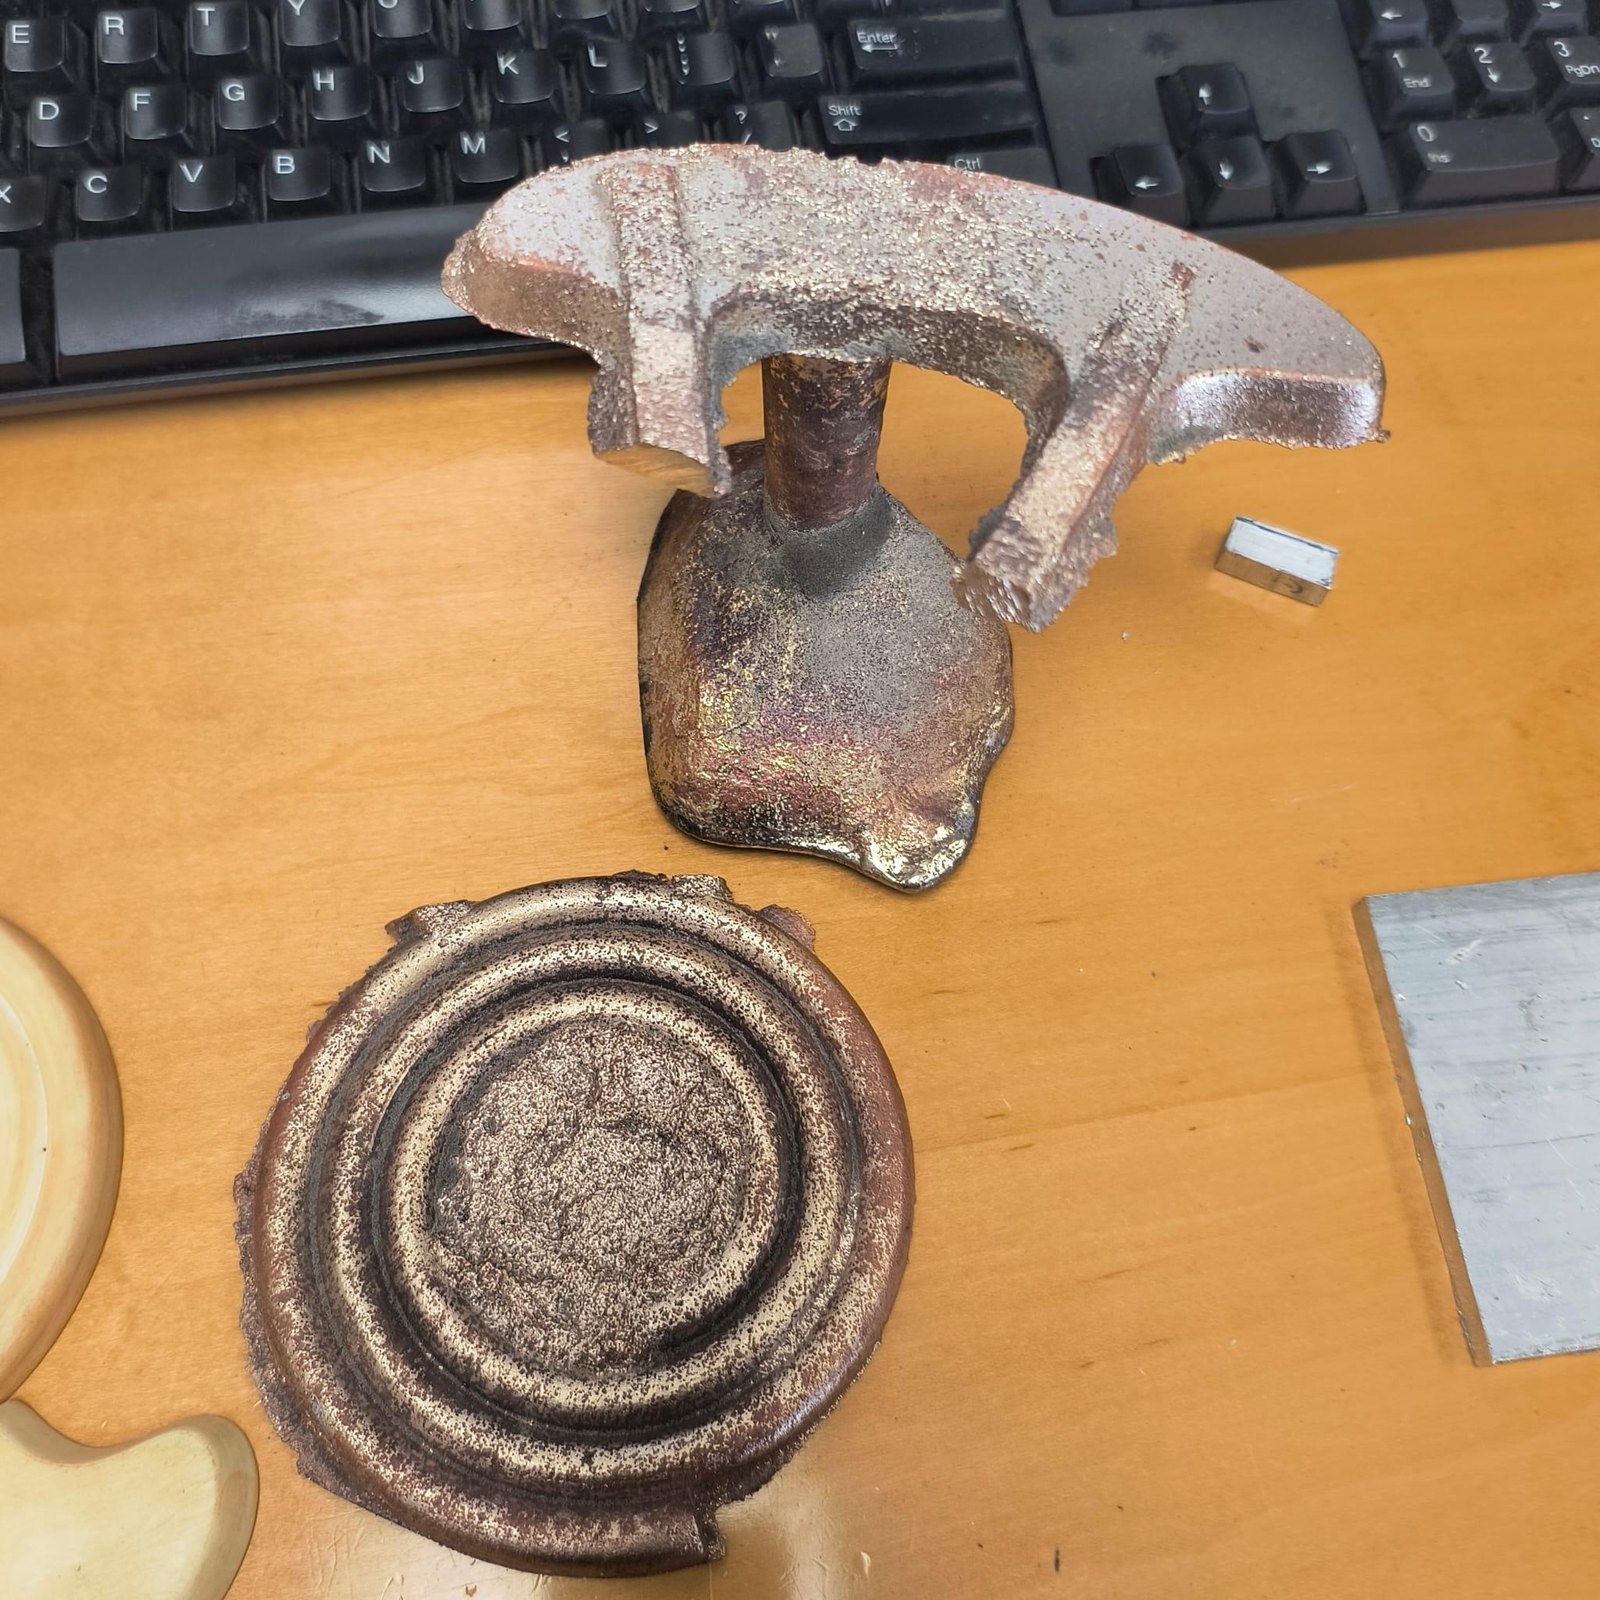
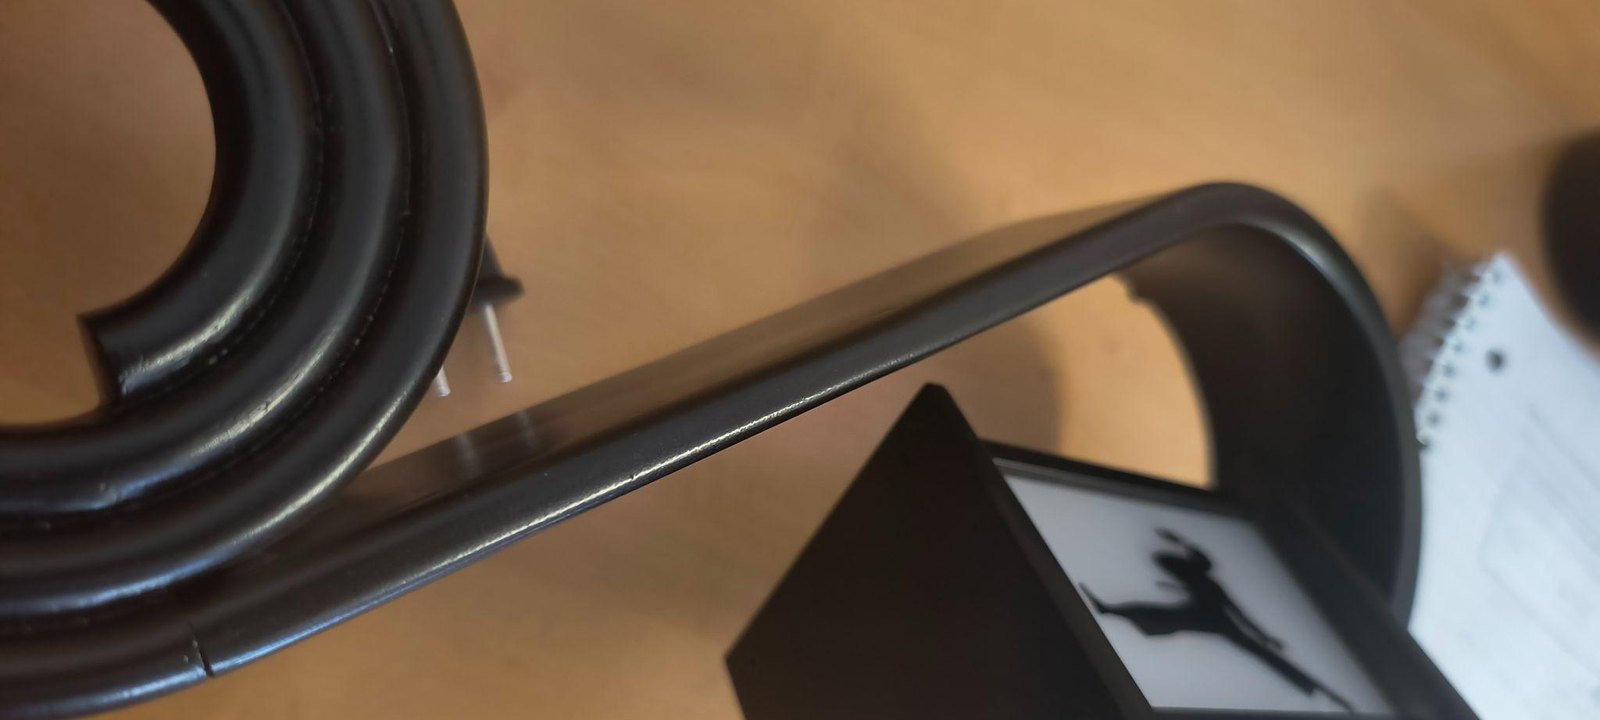
One of the biggest issues with this design was that the draft angle from the waterjet created a visual seam between the two halves of the arm, and required extensive sanding to remove. It took me several tries to cast the coil successfully, and I learned about the importance of draft angle and sand quality.
what I would do next time
I would design the arm with draft in mind, and make sure to rigorously check the sand quality before attempting casting. Finally, I would have made the bookend out of steel instead of aluminum to increase its stability when holding books.
Five processes
| Sand casting | the belt coil, using a FDM printed pattern |
|---|---|
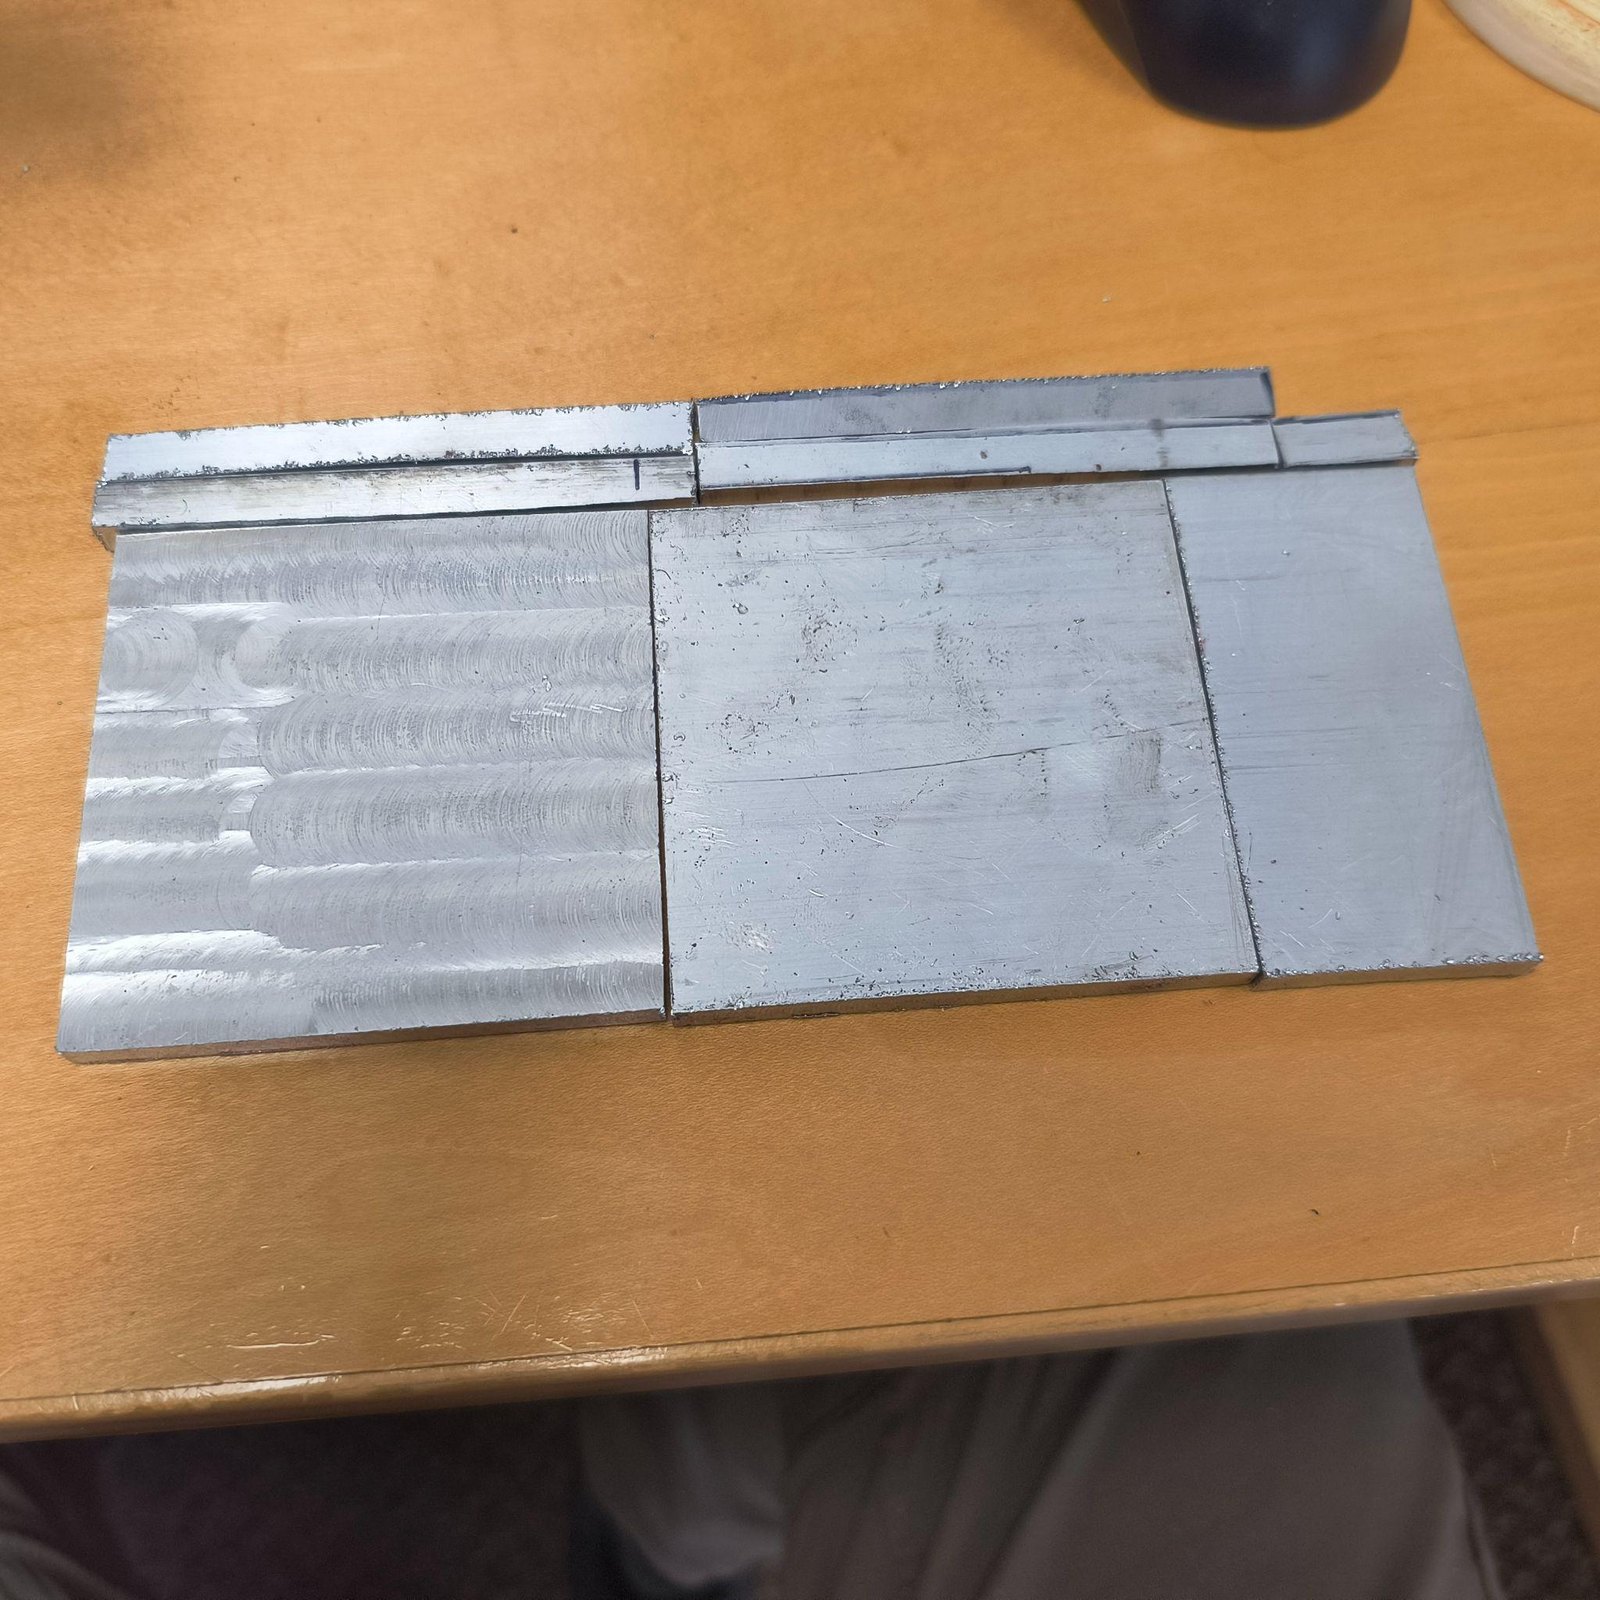
| Waterjet | every profile, cut from 1 inch plate and stacked to reach 2 inch thickness |
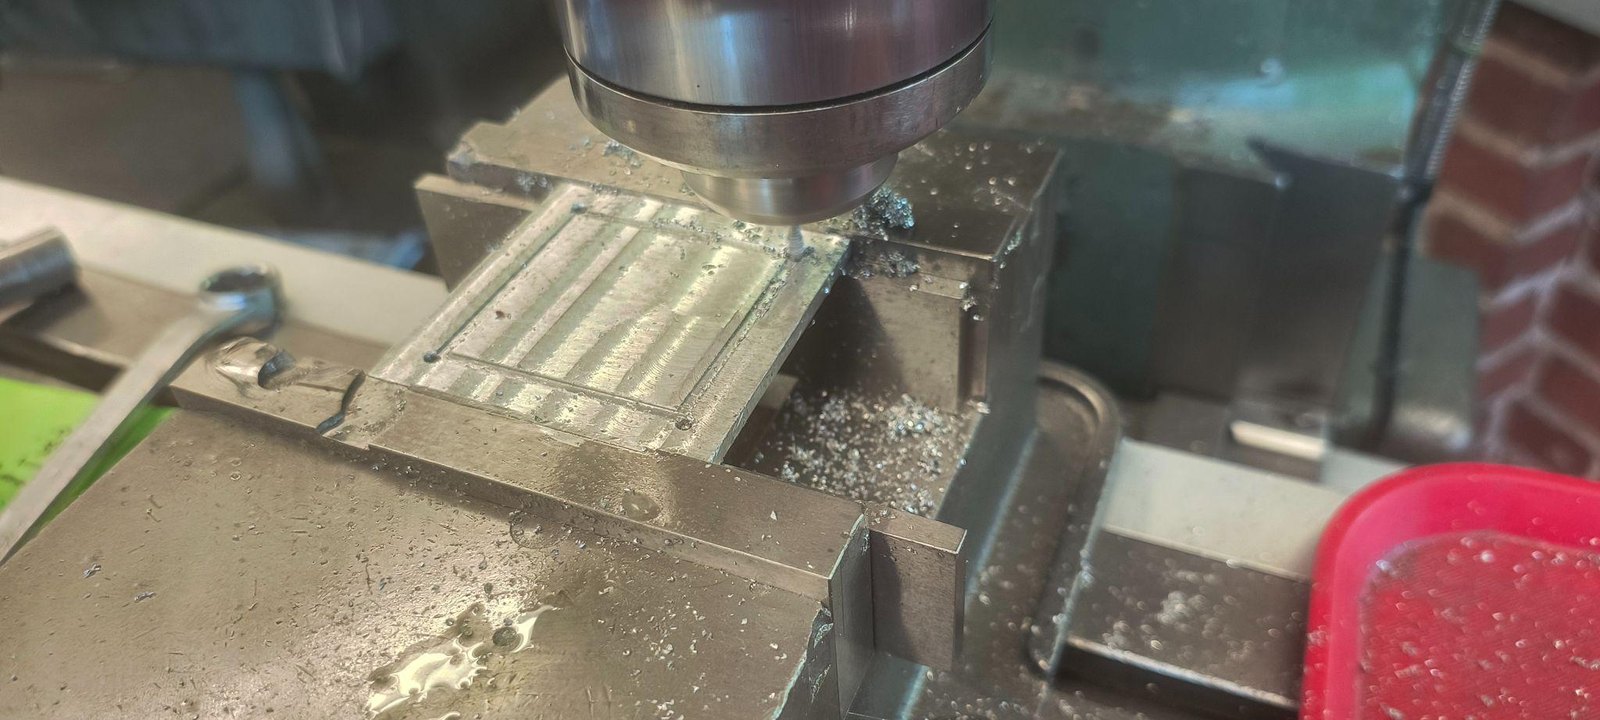
| Milling | mounting points, holes, threads, the lantern cage, and the rounded edge on the arm |
| Laser cutting | the lantern panels, and the figurine lit on the bookend |
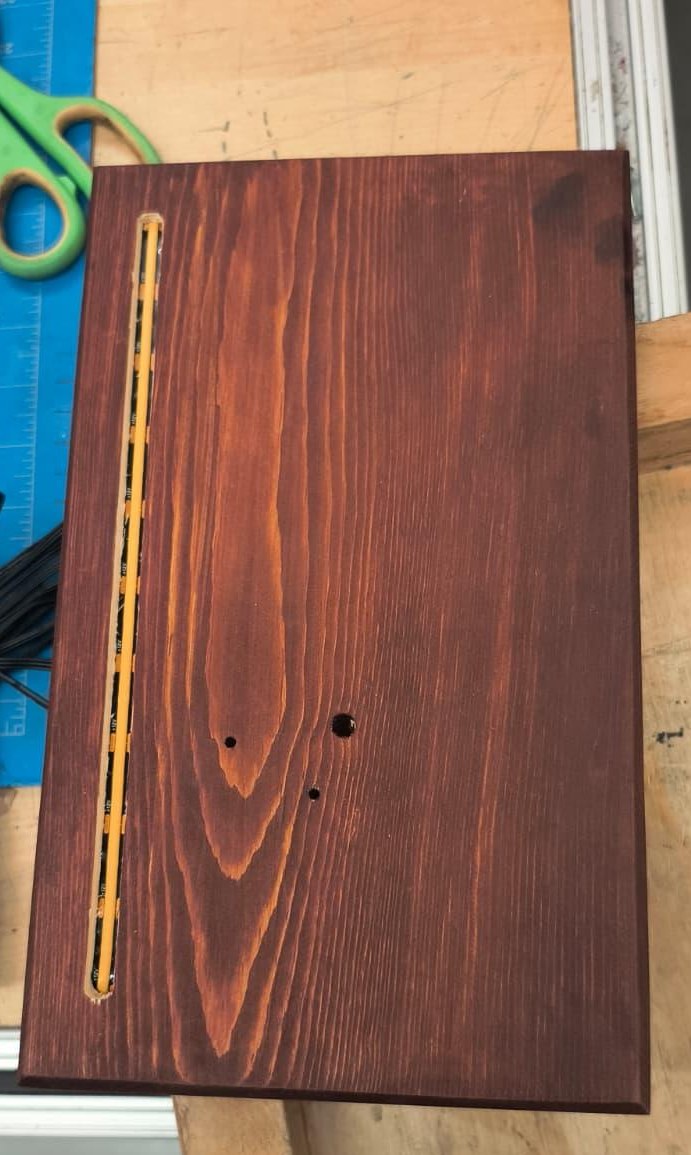
| Woodworking | Assembled the base, chamfered the edges, and used a CNC shopbot to route a light strip channel and electronics pockets |
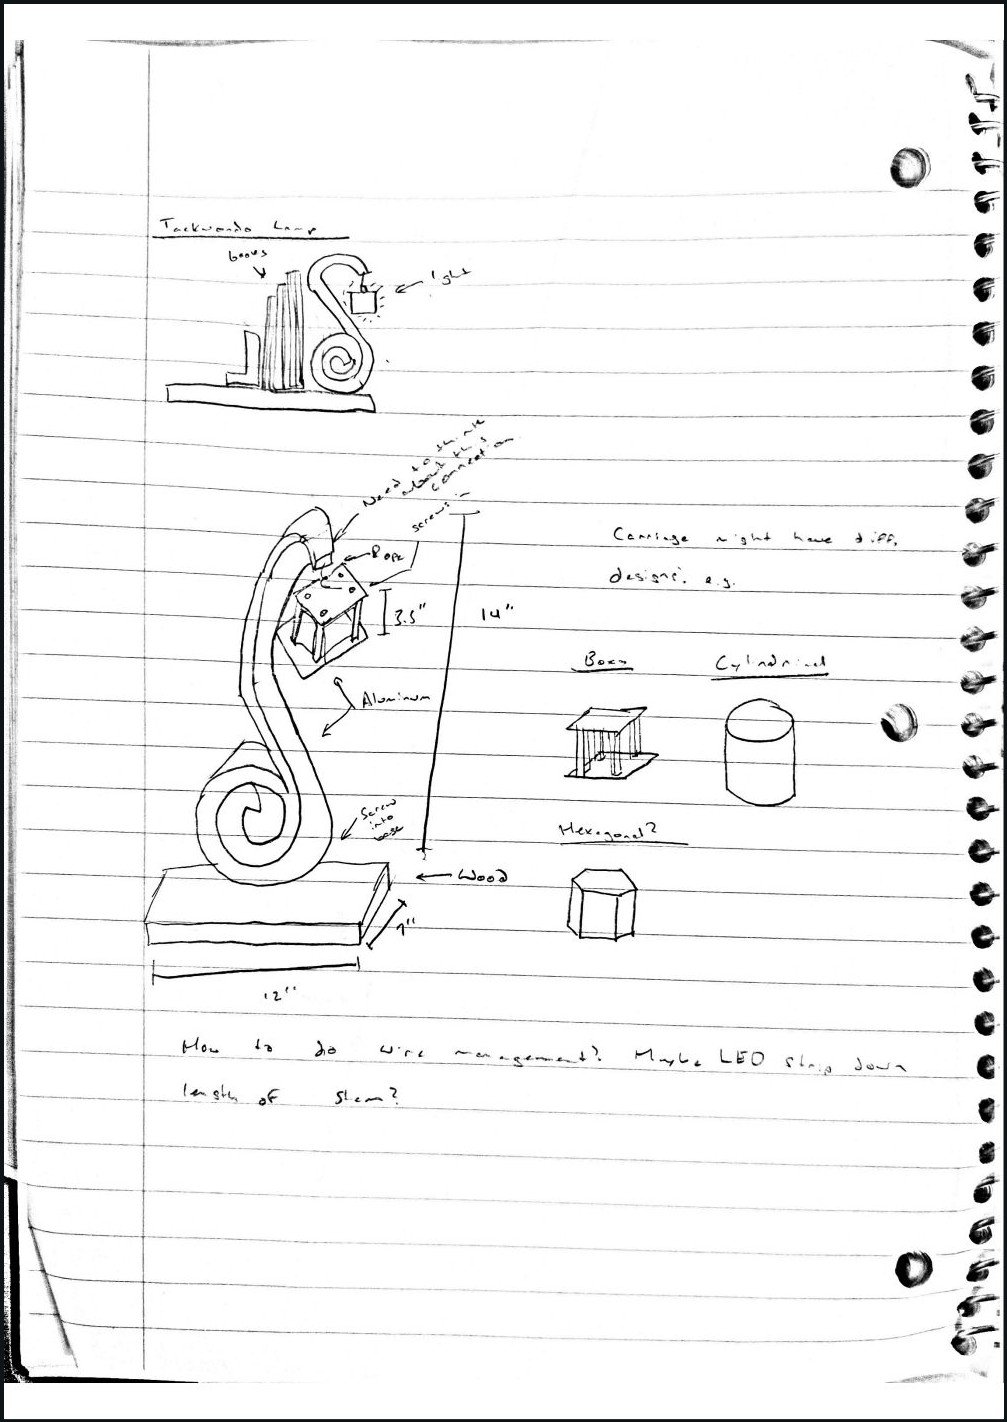
Idea
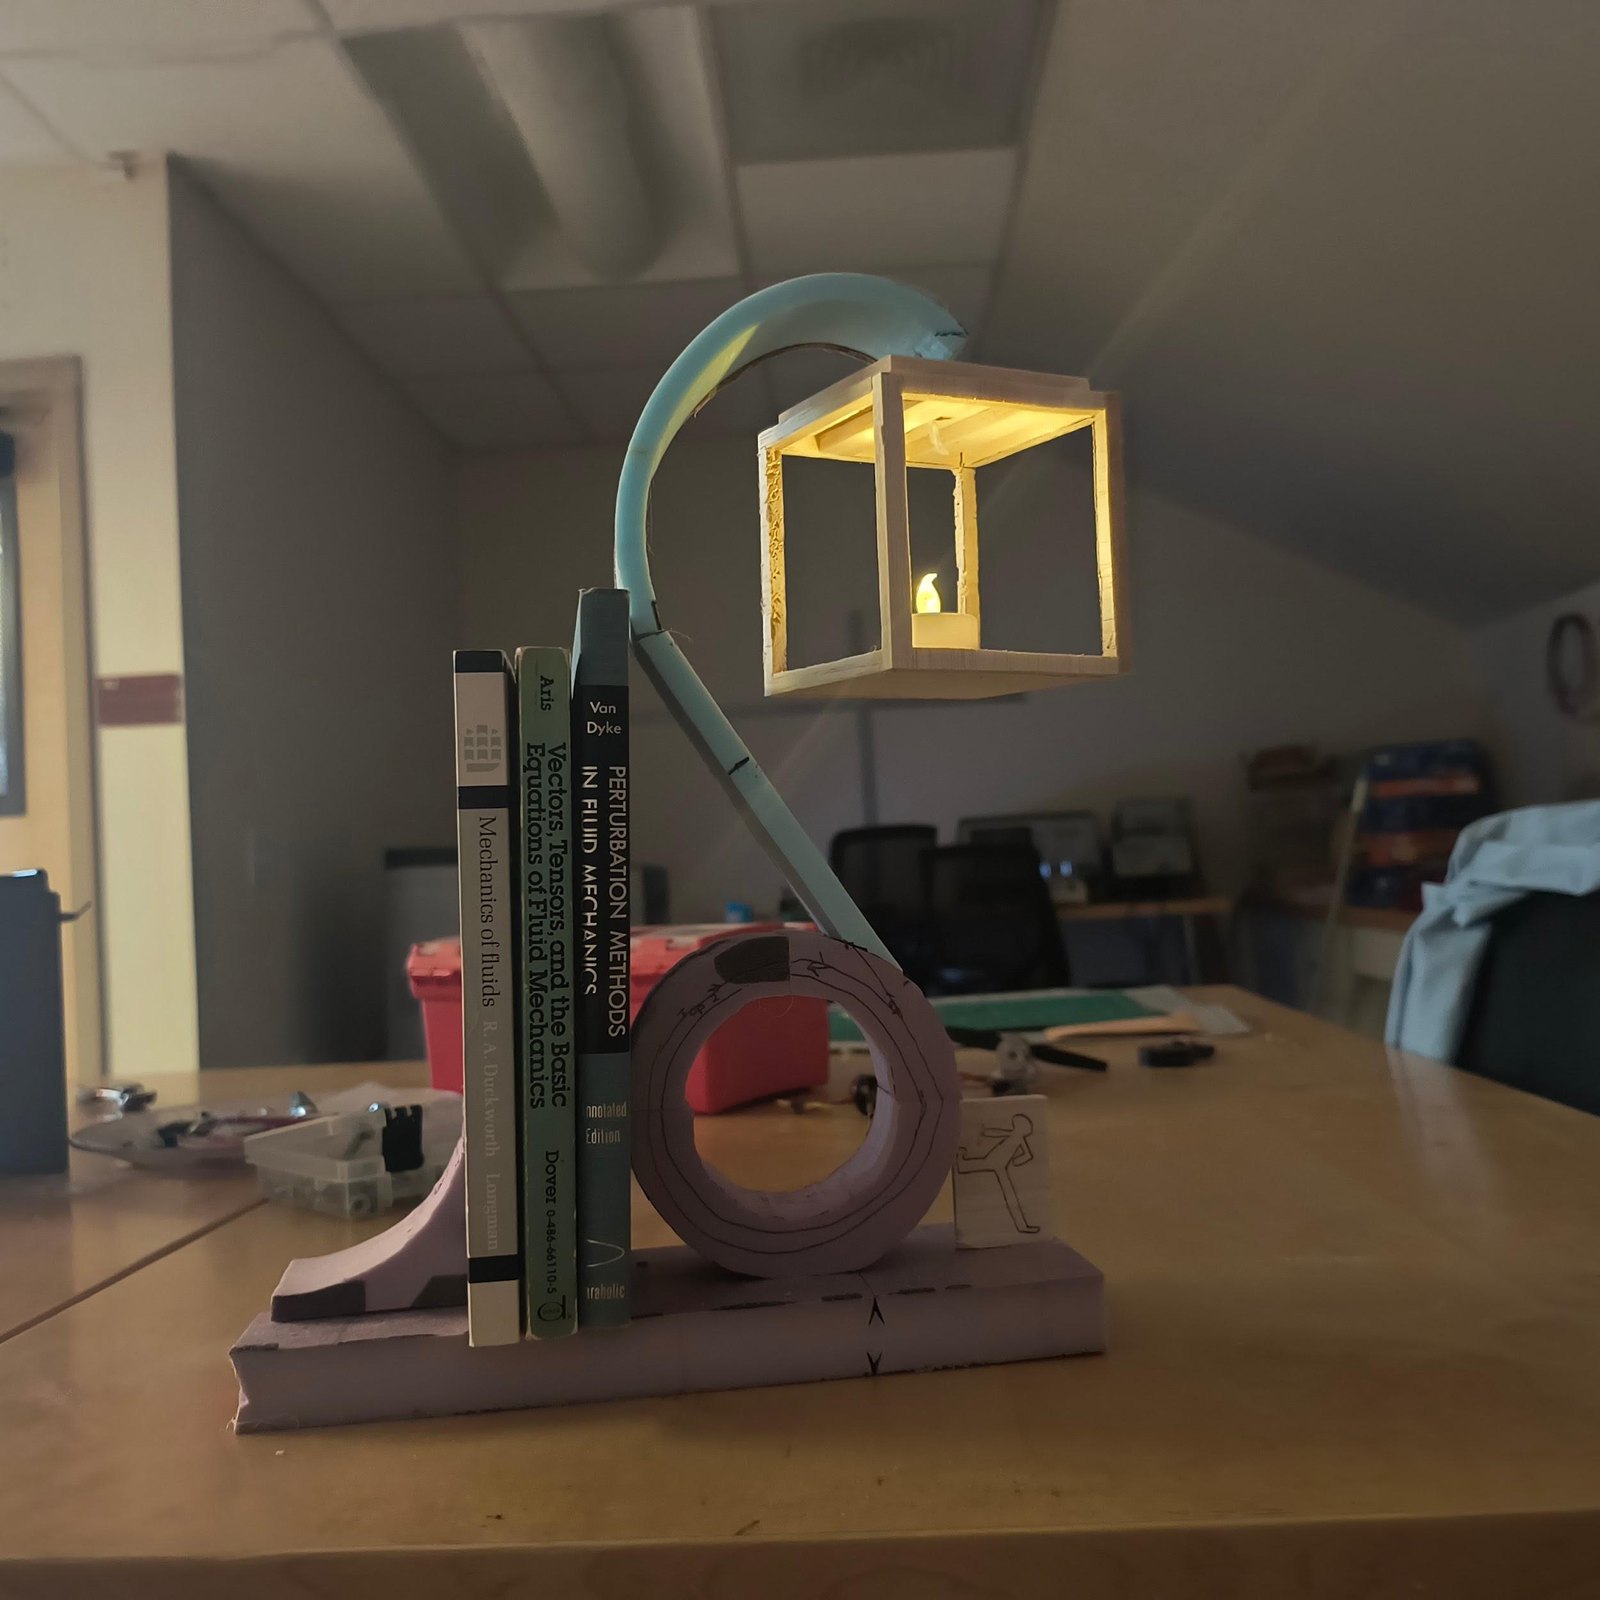
I sketched out nearly 30 concepts, settling on this one for its visual appeal, resemblence to a black belt, and bookend functionality.
Design
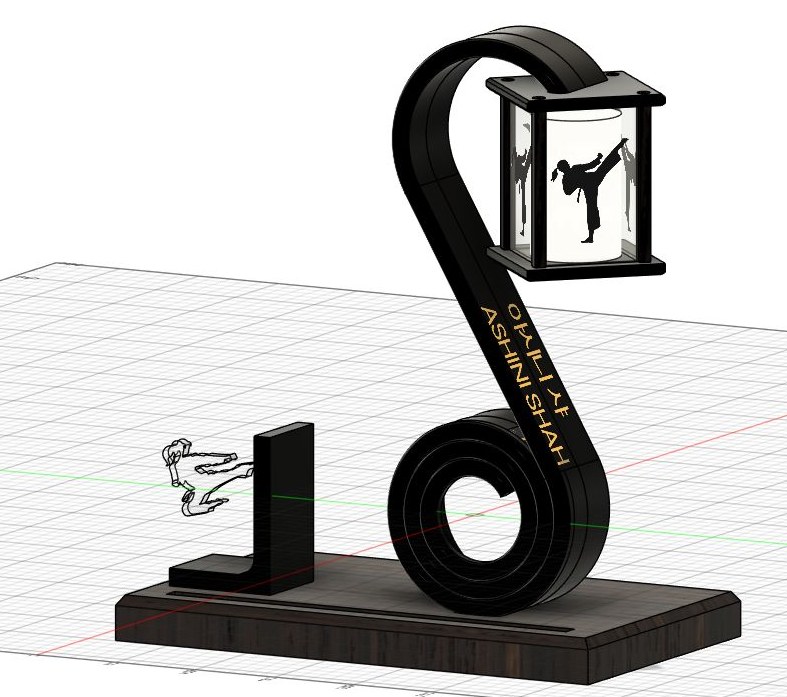
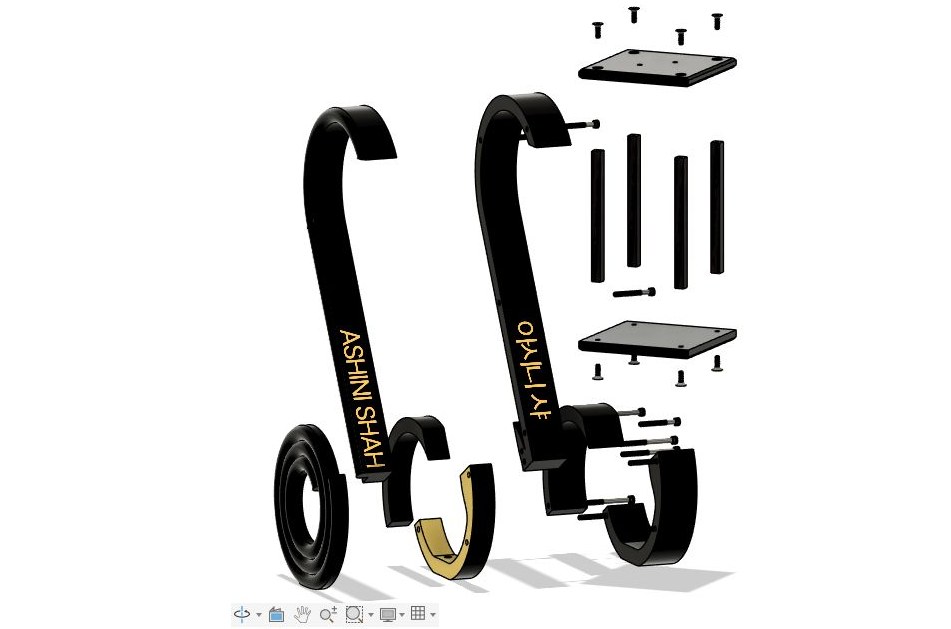
The assembly and the exploded view. For cost reasons, the arm was cut from 1 inch plate and stacked to reach 2 inch thickness. Screws run all the way through from the back into threaded holes on the sand-cast coil. The lantern is a pair of waterjet plates on standoffs with laser-cut panels between them that snap into grooves in the plates.
The arm and coil
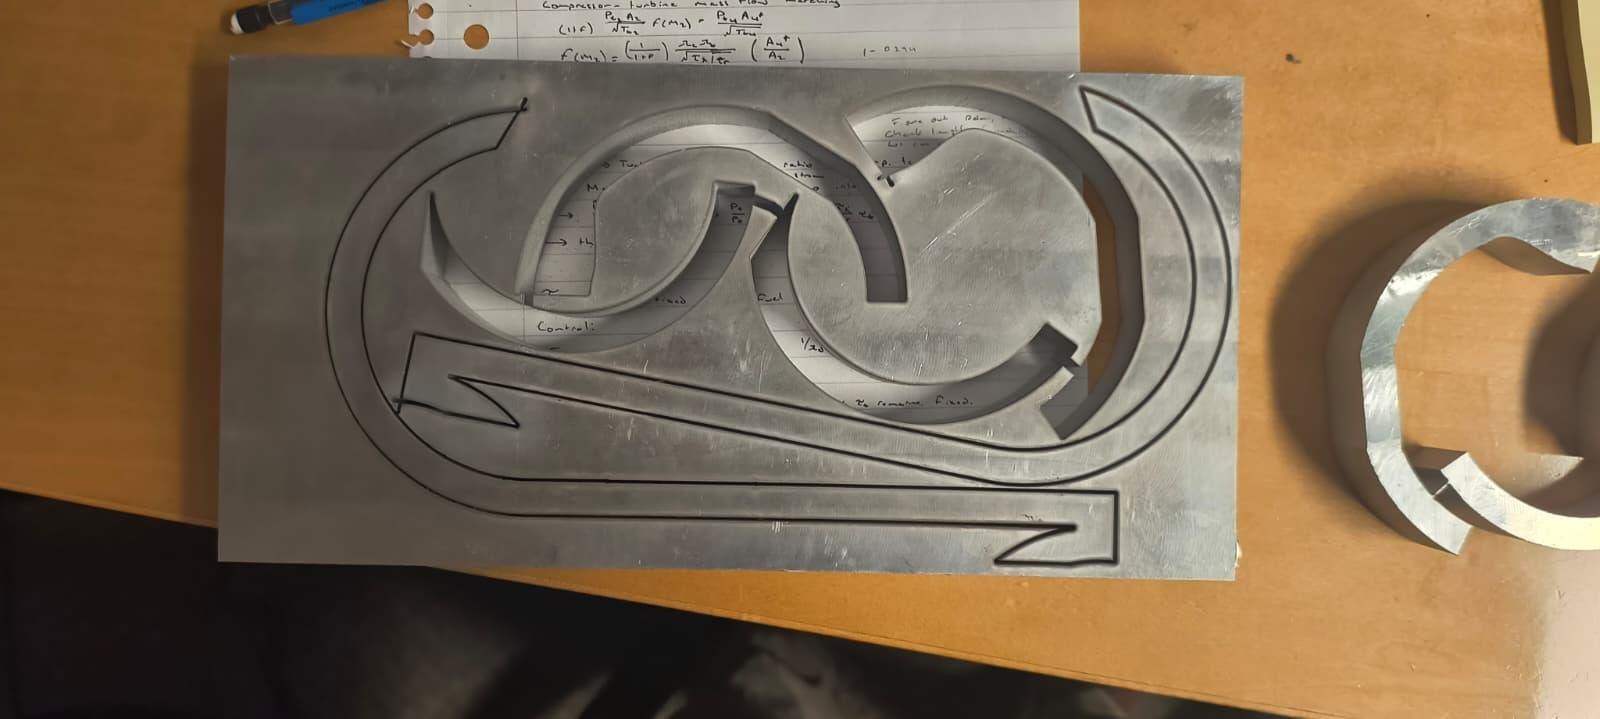
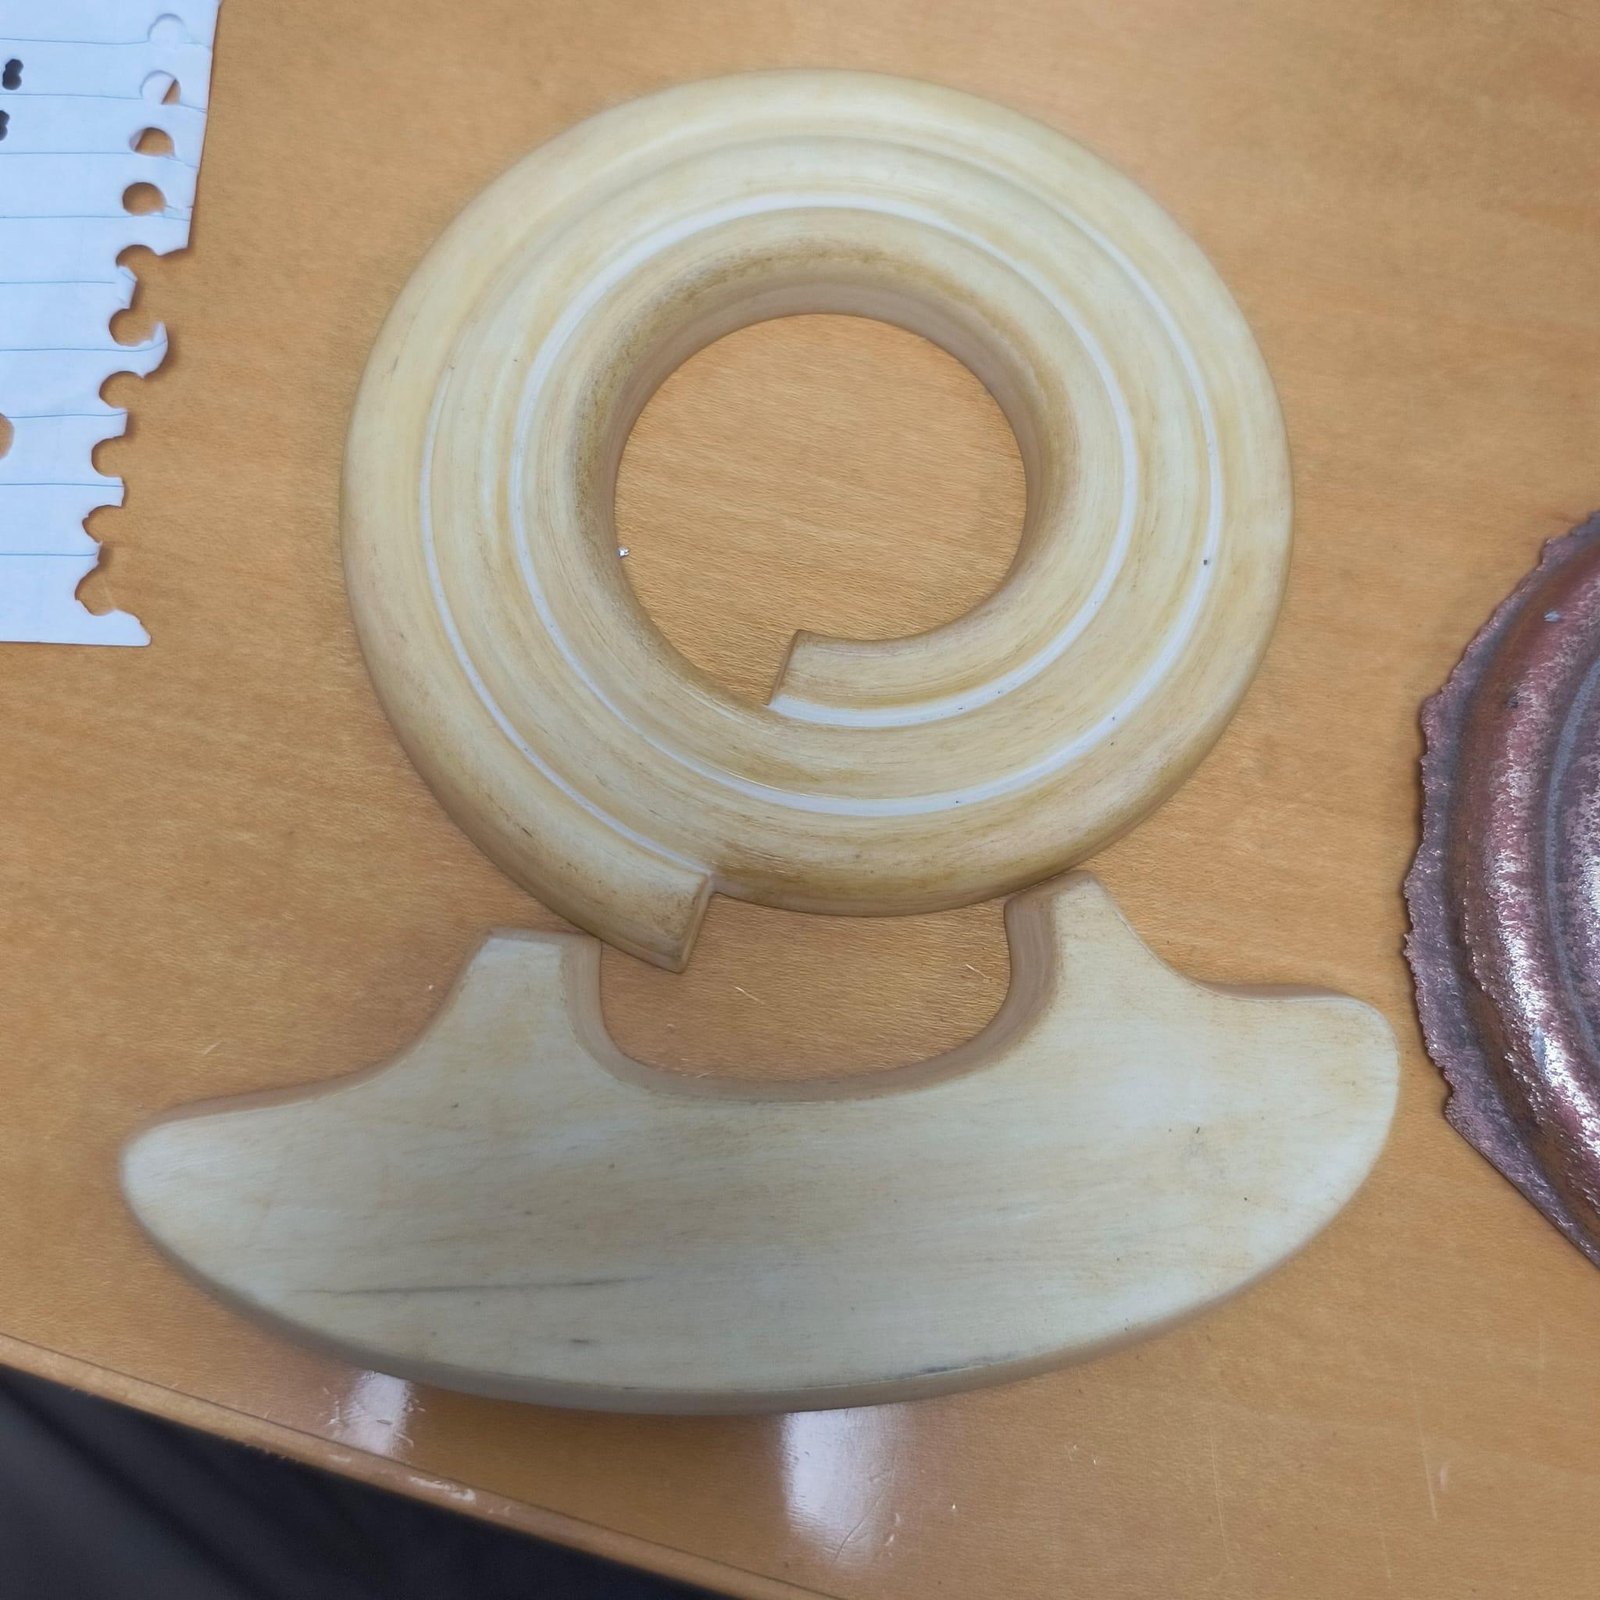
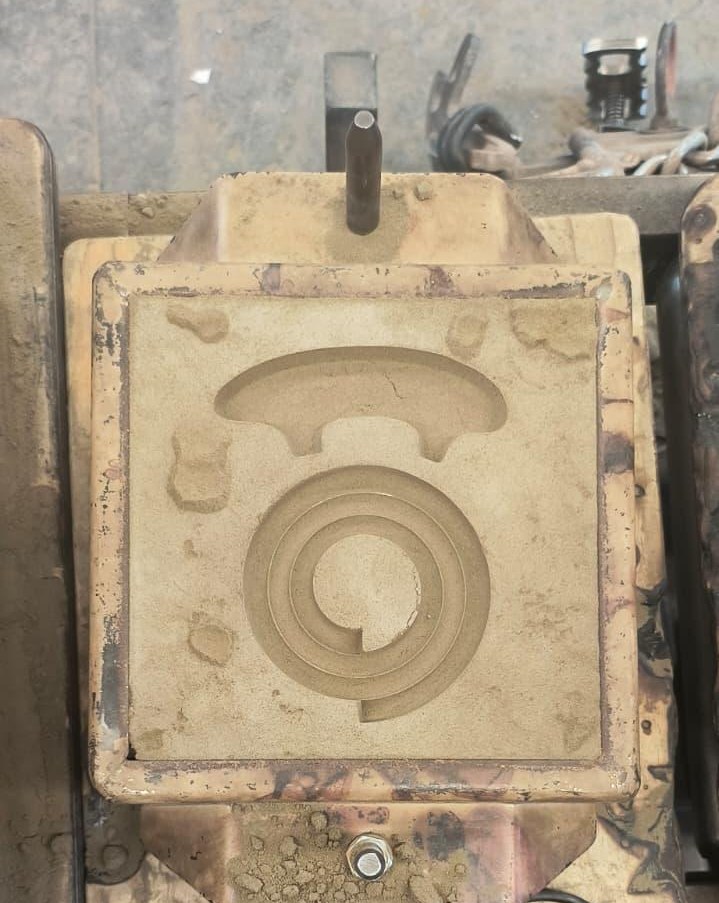
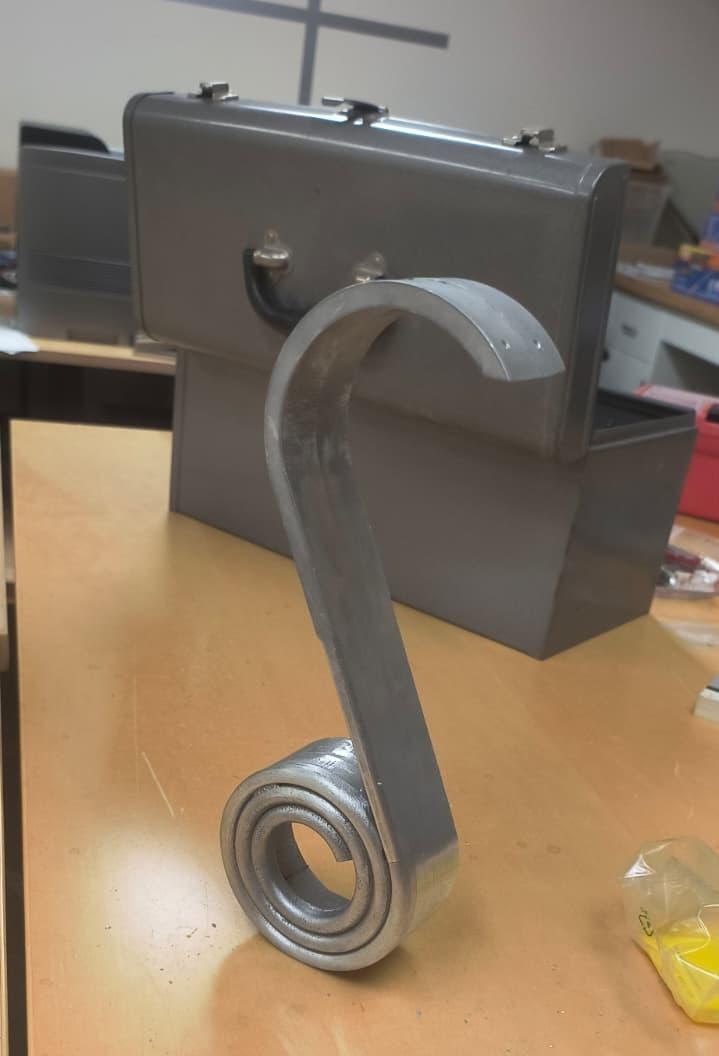
The arm was cut on the waterjet, with each profile cut twice. The coil used a FDM printed mold, and was sand-cast in aluminum.
Milling connection points
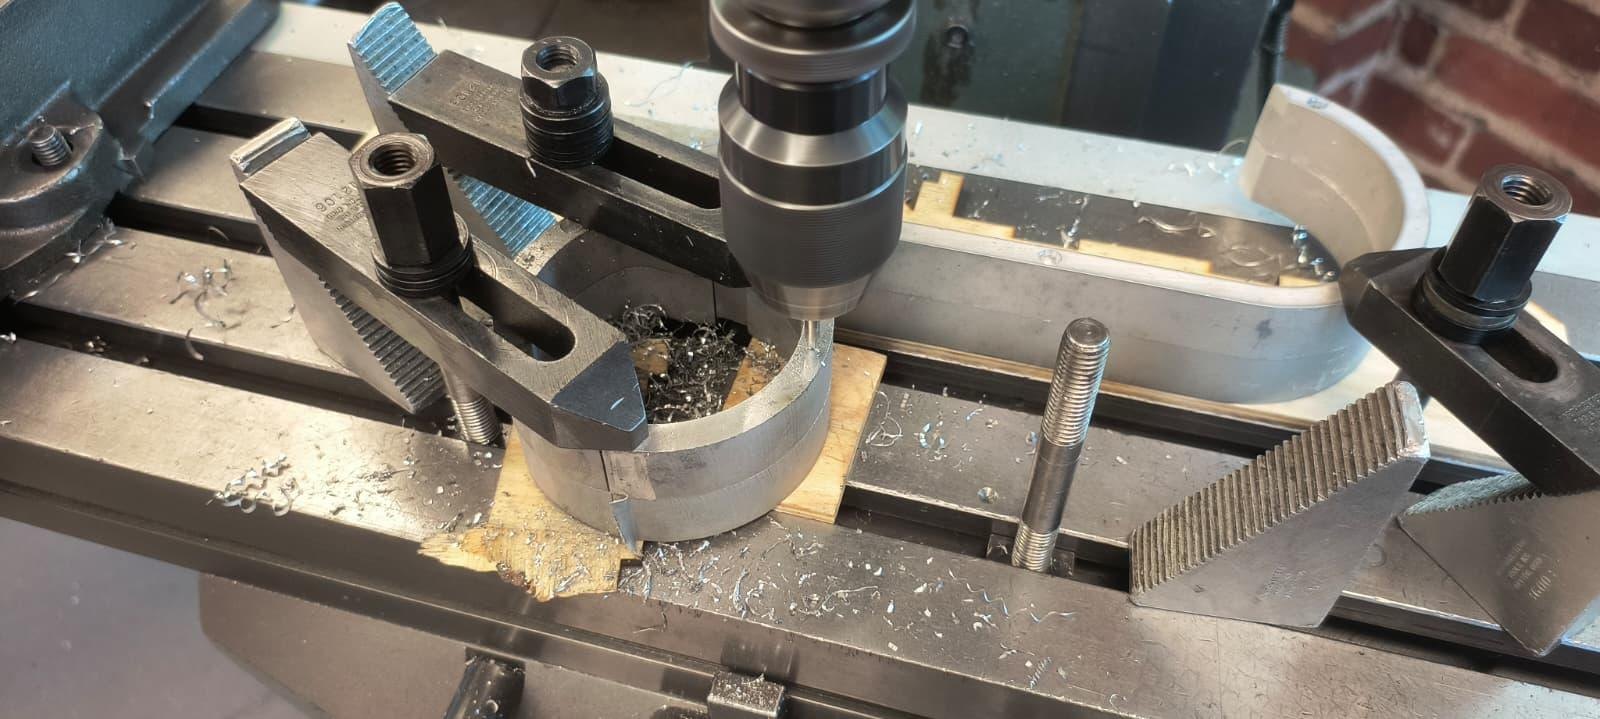
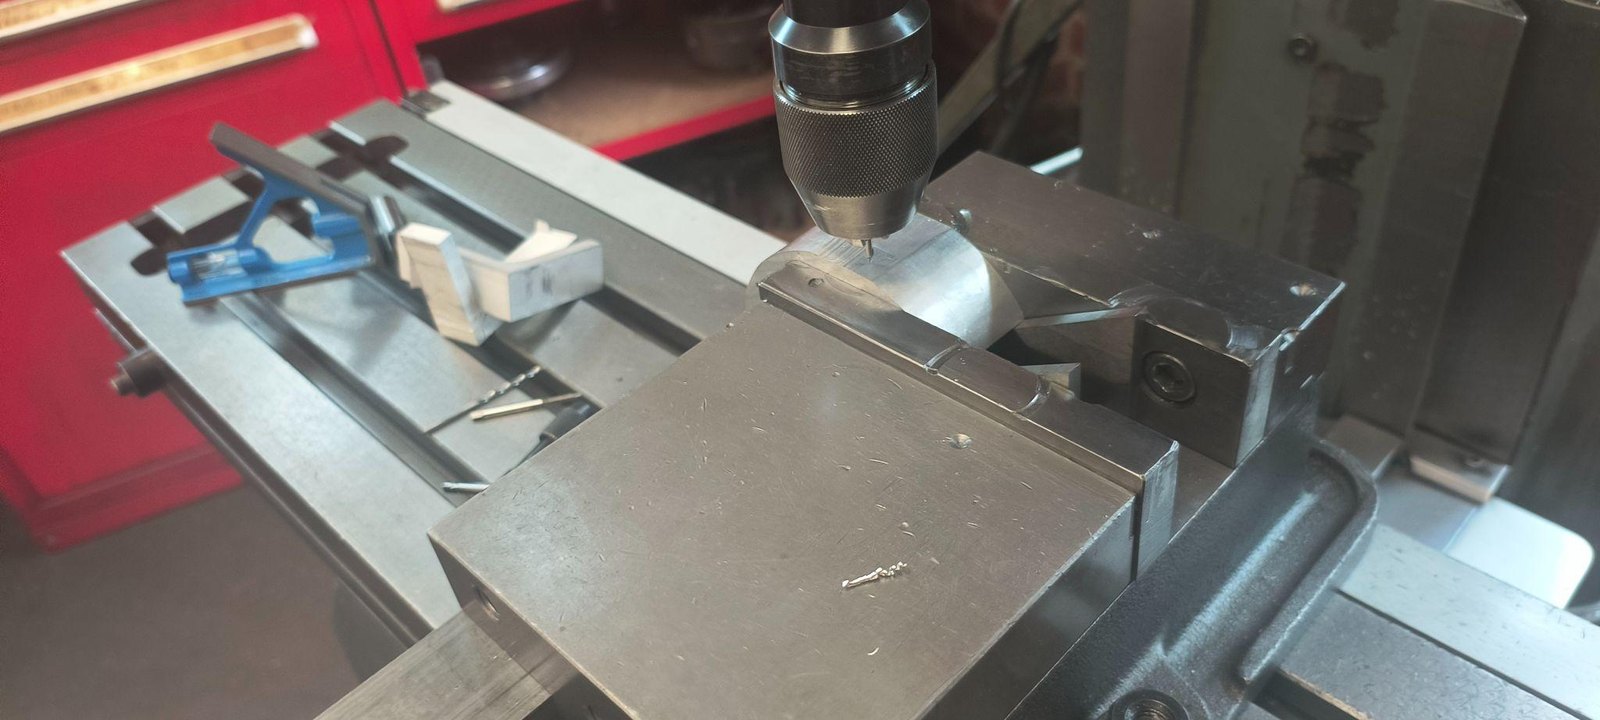
Most of the time on this project was spent carefully setting up the mill for each operation.Curved parts do not sit square in a vice, so nearly every operation needed its own set-up.
Lantern and base
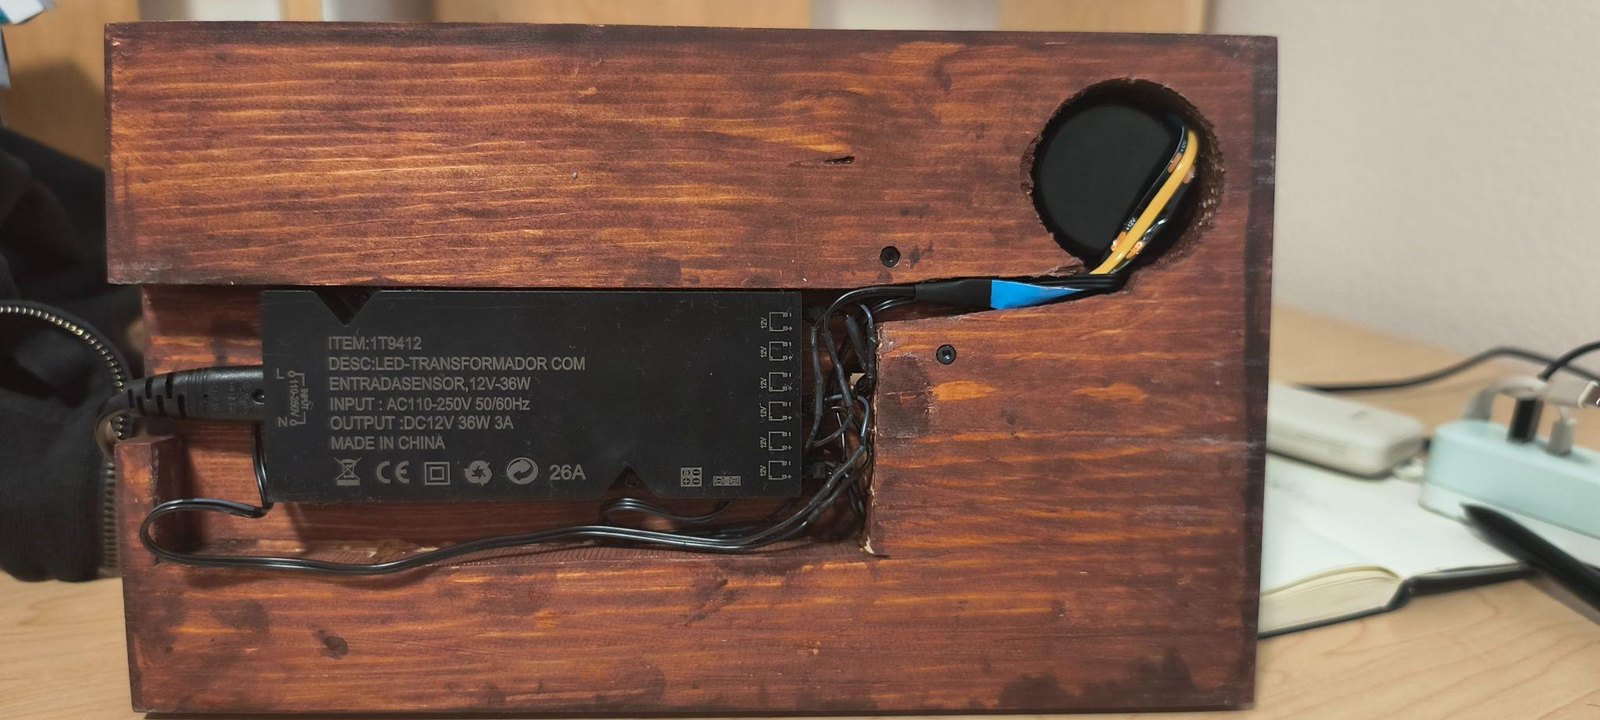
The lantern is a pair of waterjet plates on standoffs with laser-cut panels between them. The figurine on the bookend is laser cut too, and lit from the base. The base hides the wiring.
Finished